Step by step guide for Fence Guard
Denne guiden tar deg gjennom steg for steg hvordan å opprette og konfigurere hendelsesbaserte varsler med Fence Guard. Fence Guard baserer seg på å sende varsler ved passering i en konkret retning av predefinerte linjer.
Adding event based supervision to service recipient
Log in as service responsible
Navigate to the service recipient
Go to “Camera supervision”
Under “Event-based supervision” choose “ Add event-based supervision”

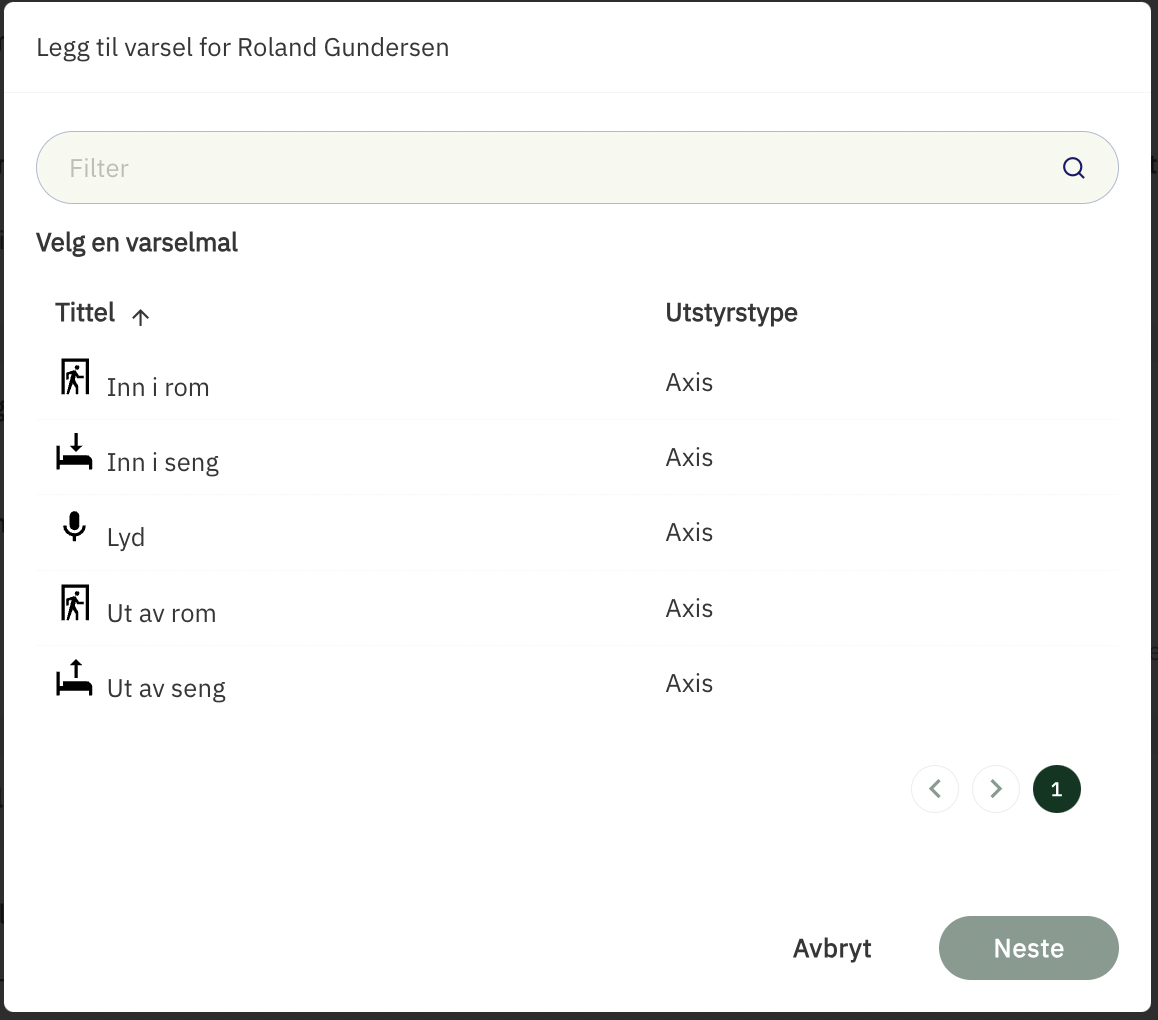
Choose the event type that you want to add
Fill inn the necessary information
Description: Description of the supervision
Display text: The text that is visible in the alarm card
Alarm icon: The icon that is visible in the alarm card
Priority: Priority of the event
Time period: The time that the event-based supervision should be active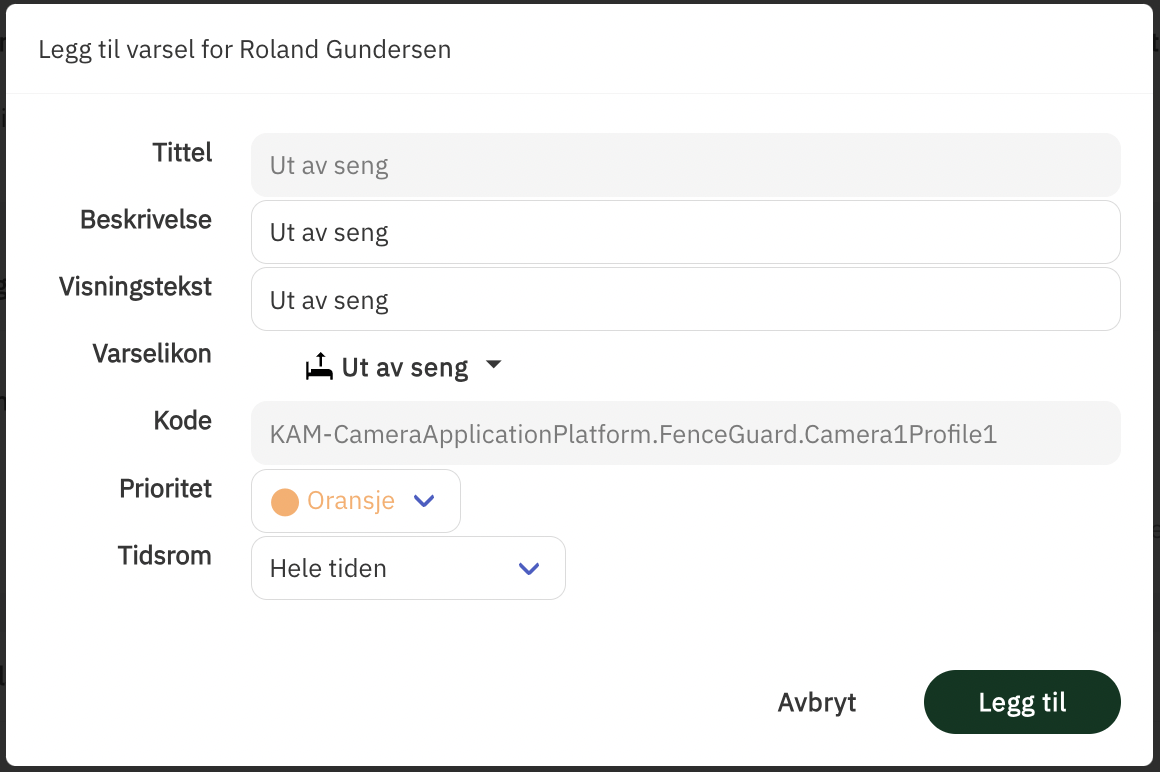
If a time period is selected:
Applies from: The time that it should start
Applies to: The time that it should end
Days: The days it should apply to
Press “Add”, the event-based supervision is now active

Configuring Fence Guard
Log in as service responsible
Navigate to the service recipient
Go to “Camera supervision”
Click on the arrow to the right of the camera that you have added event-based supervision to

Click “Edit”
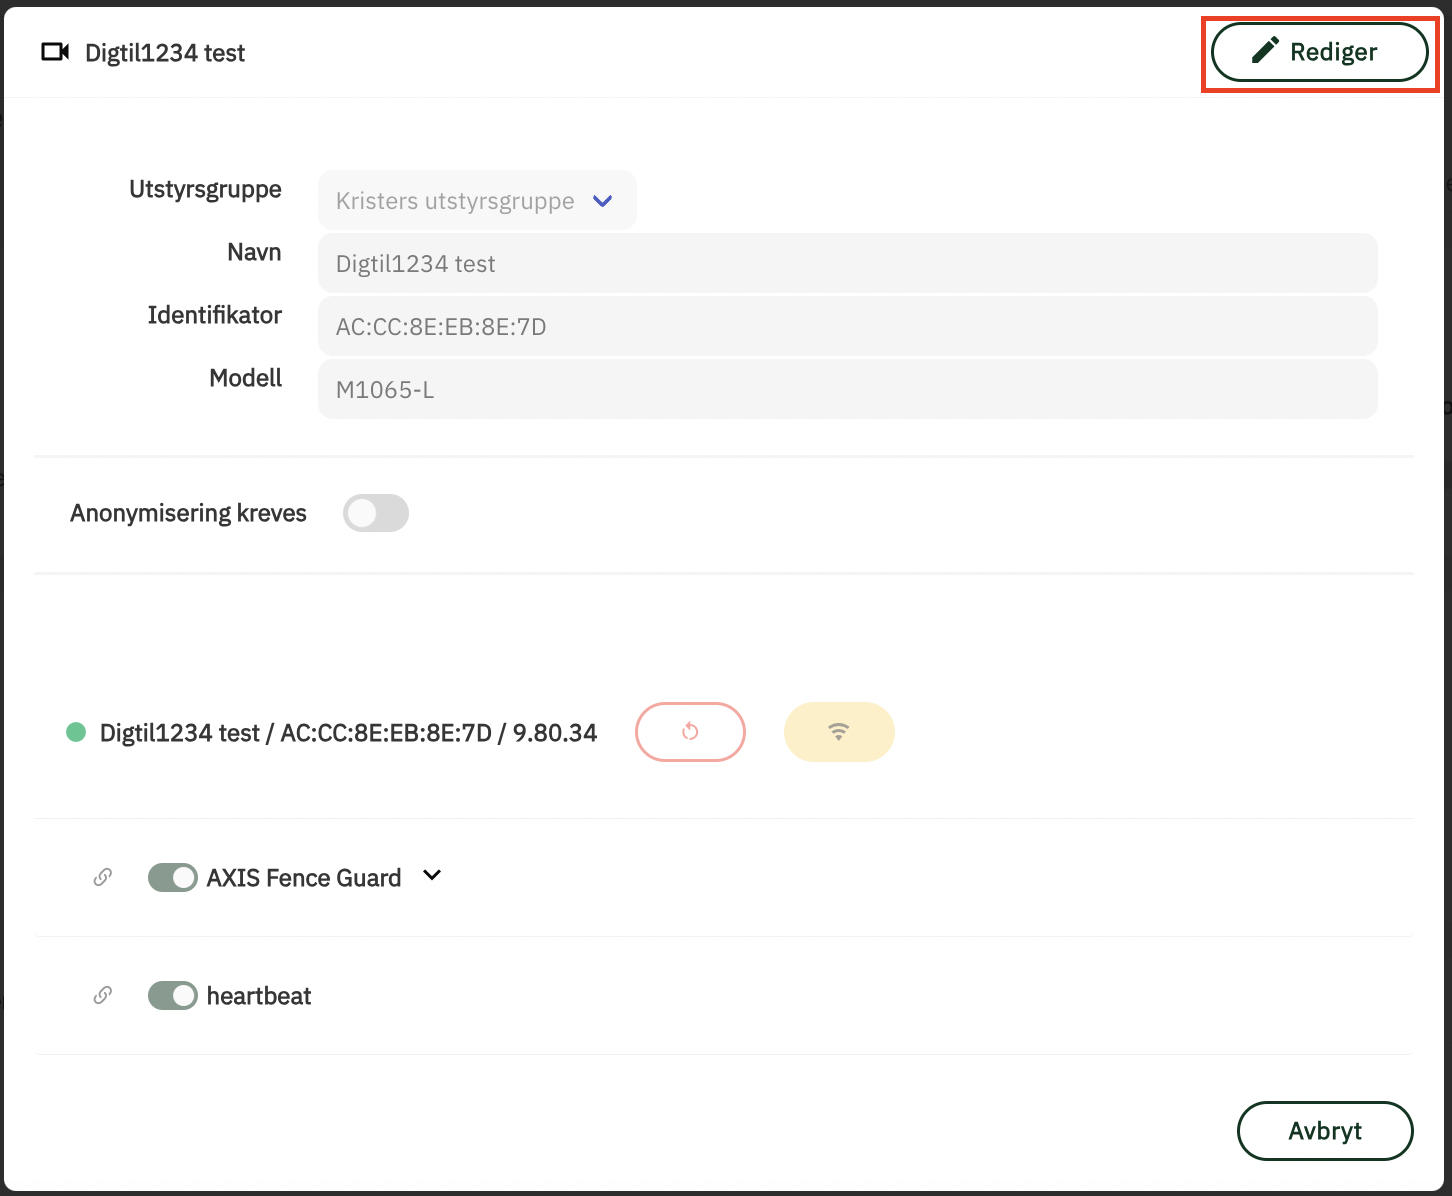
Scroll down and click the icon next to Fence Guard
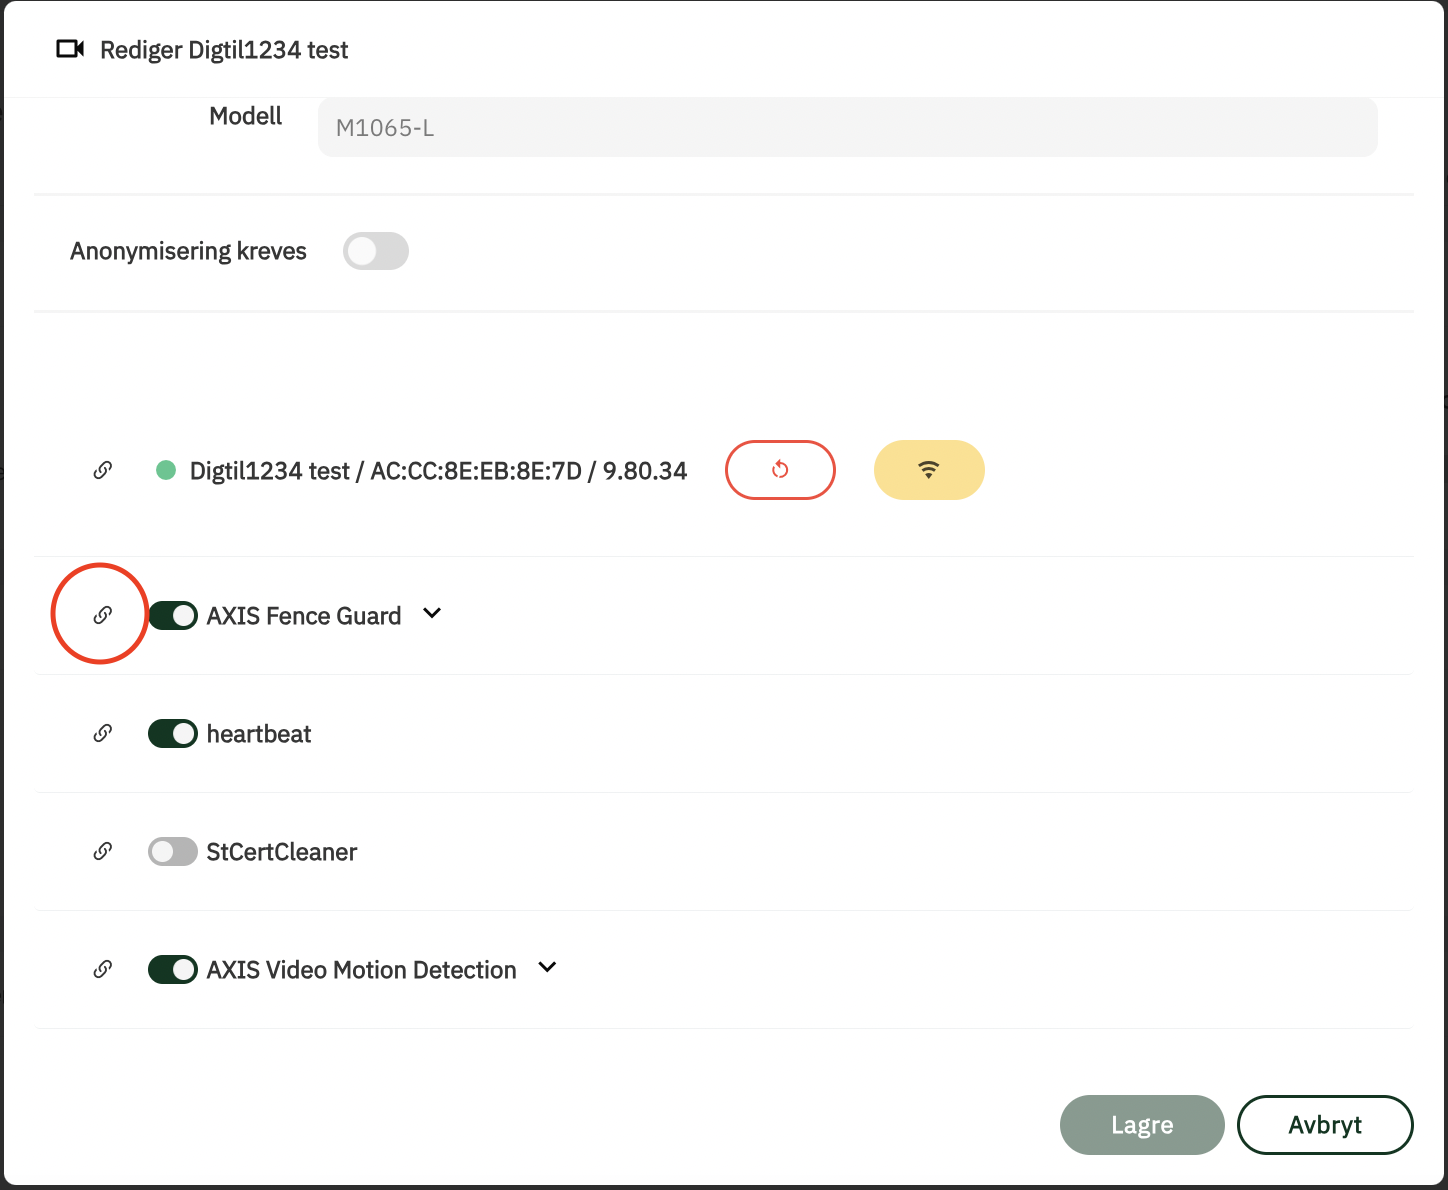
You will now be sent to this page
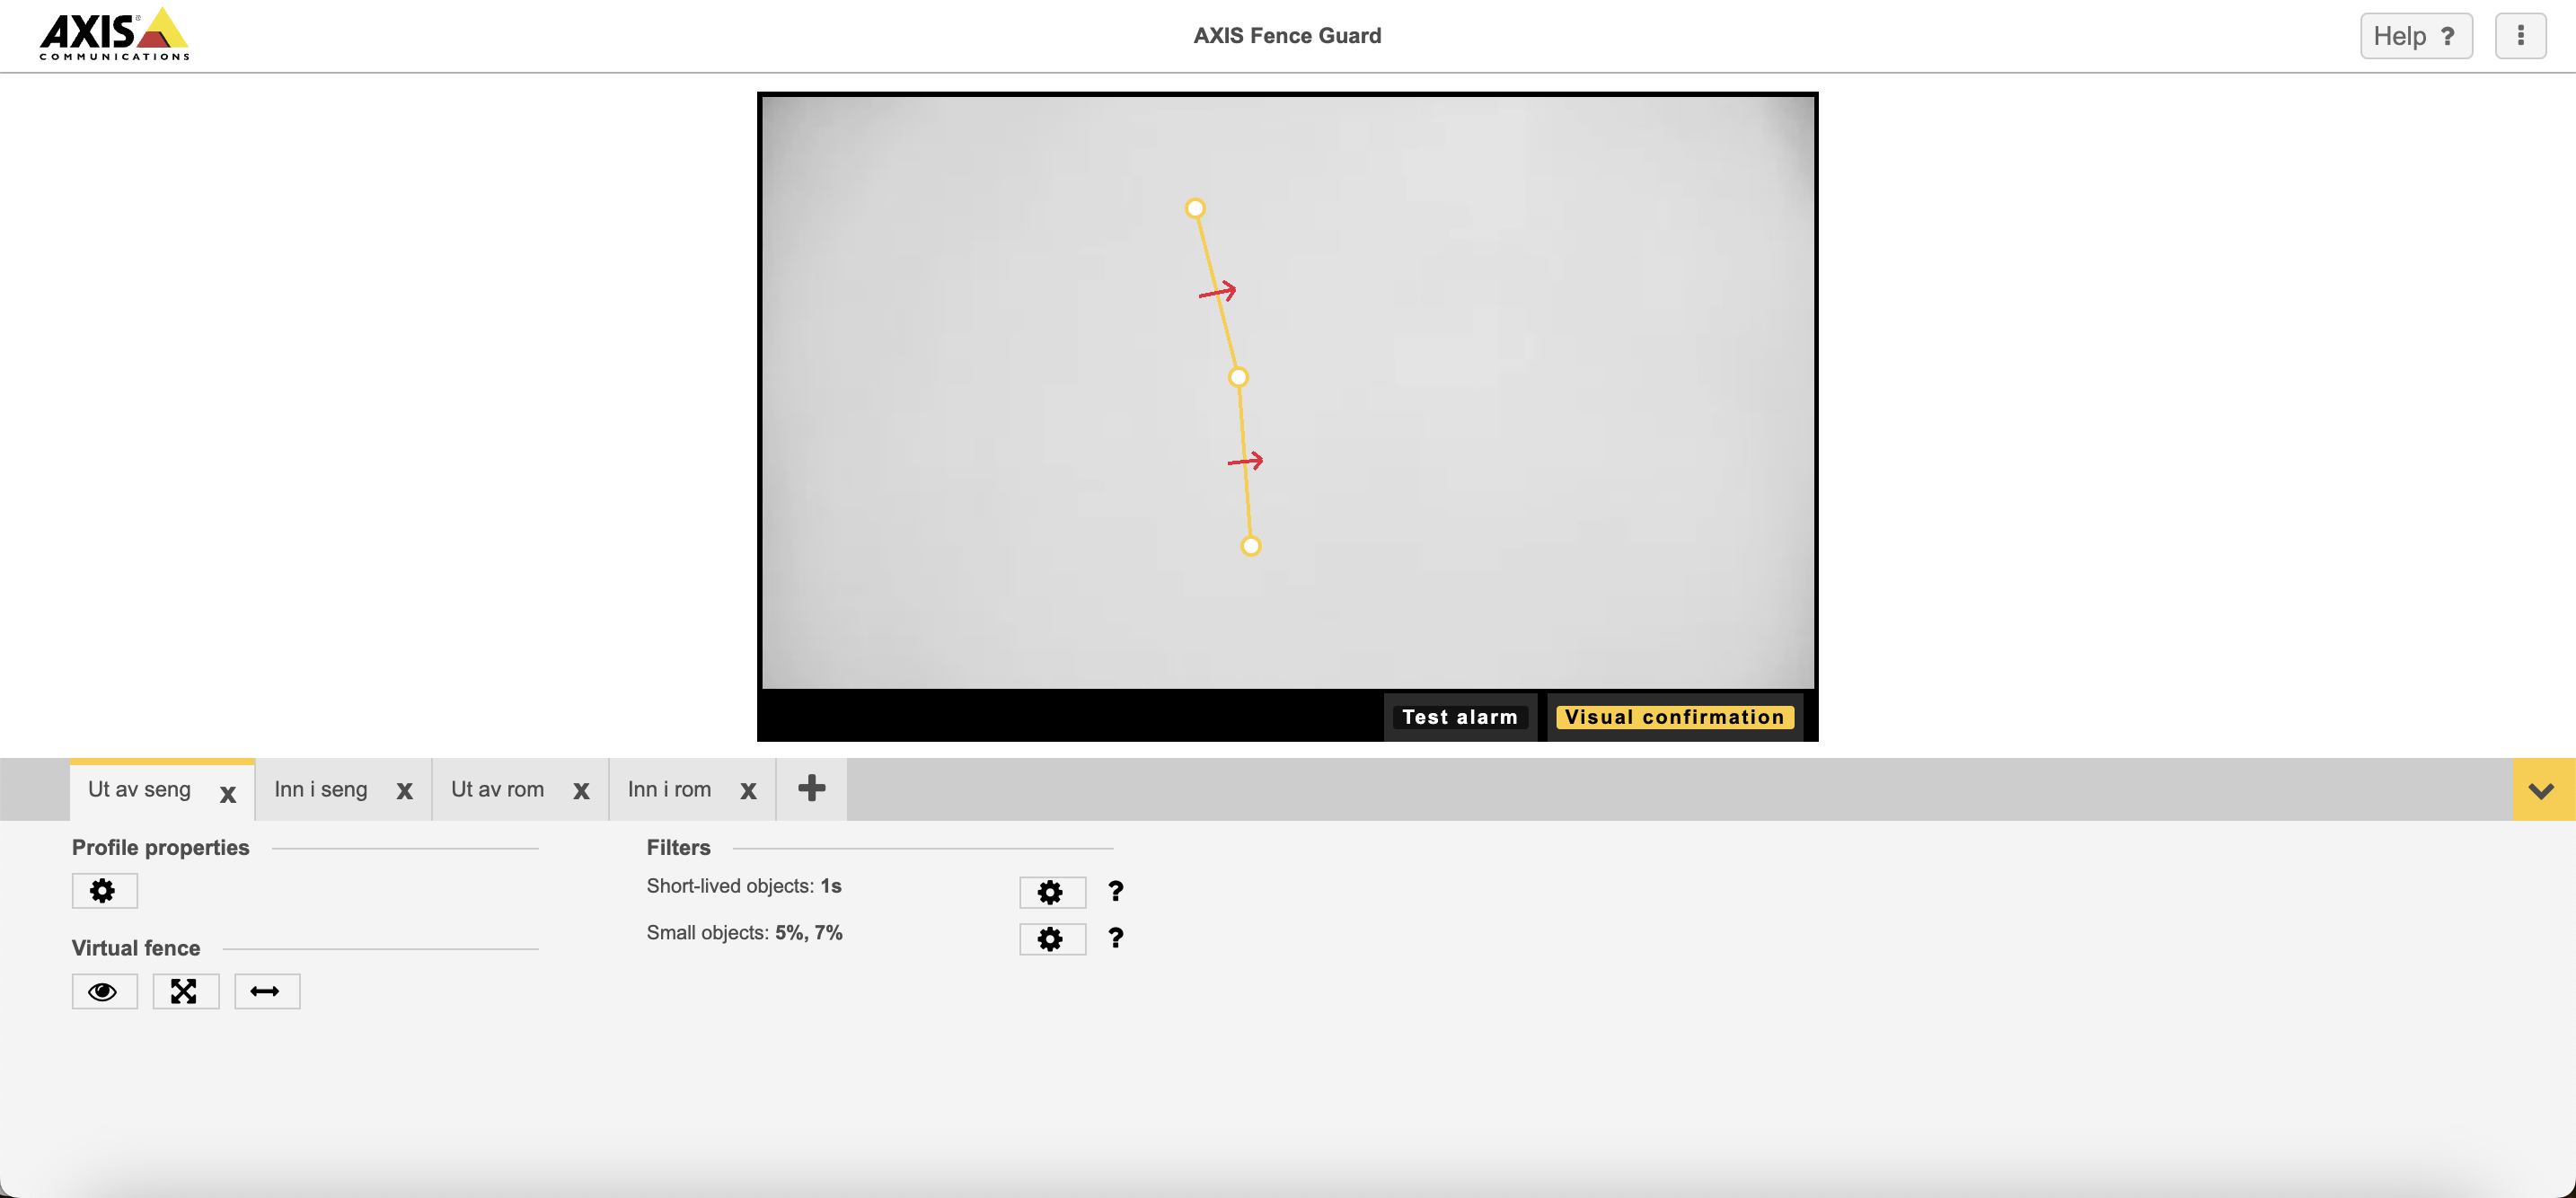
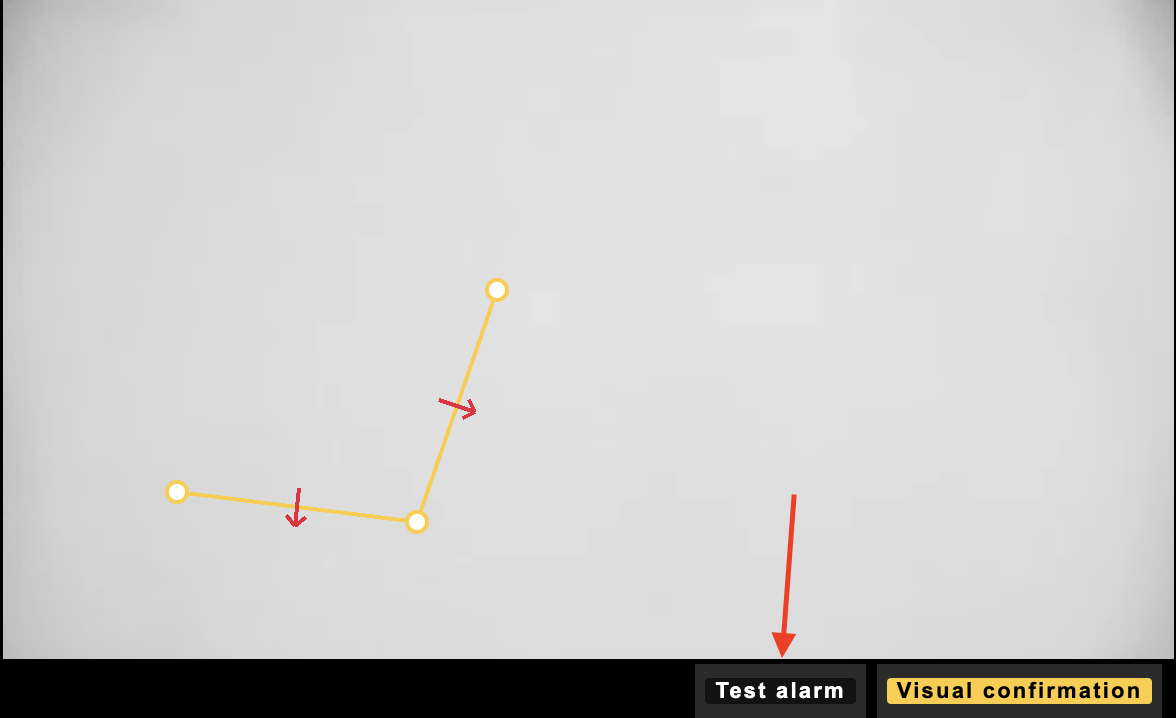
The image in this example is blurred, but here you will see the screen and can adjust the mask
Choose the relevant scenario from the tab menu
You can now move the markers around the are that you want to get alerts from. We recommend to test this thoroughly in the room.
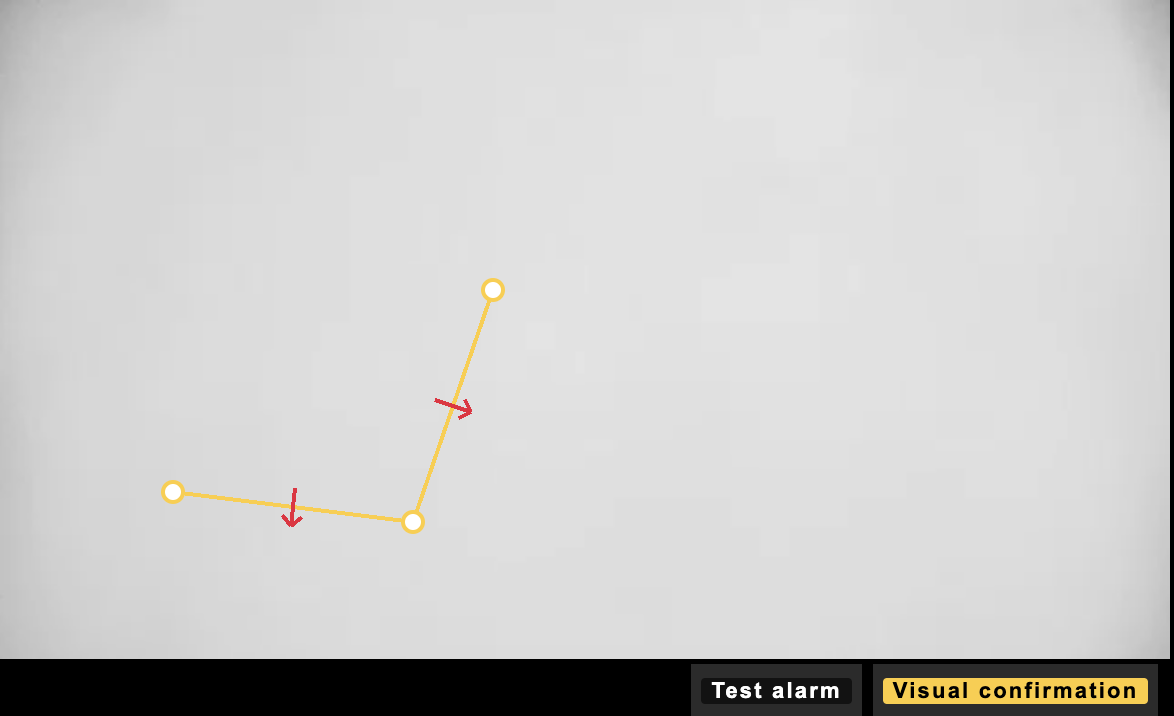
For more information on setting masks for Fence Guard
Test alerts
Log in as service responsible
Navigate to the service recipient
Go to “Camera supervision”
Click on the arrow to the right of the camera that you have added event-based supervision to

Click “Edit”

Scroll down to Fence Guard and expand. Here you will see all possible alerts with Fence Guard. When an alert is added to the service recipient you will get the option to “Send event”. Click “Send event”.
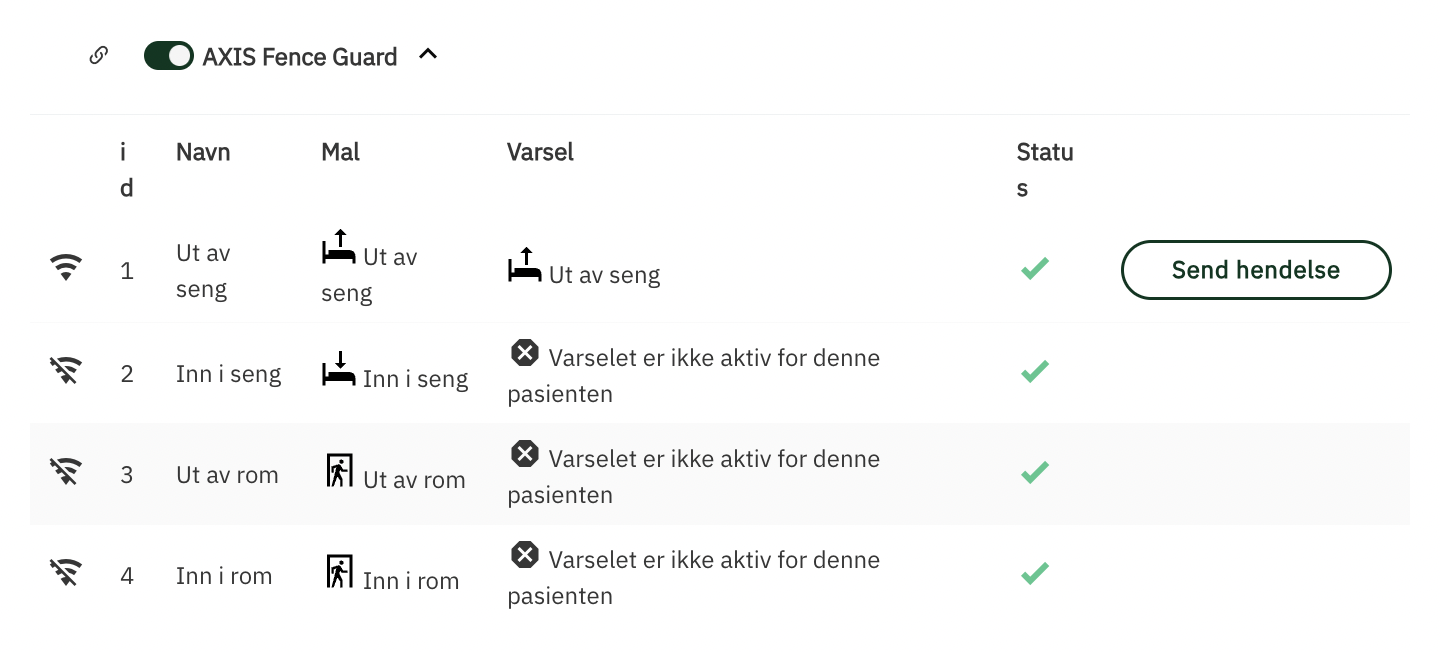
Click “Yes”

Go to “Event log” and see that the event was received

PS! It is also possible to send test alarm from Fence Guard when adjusting the masks.
